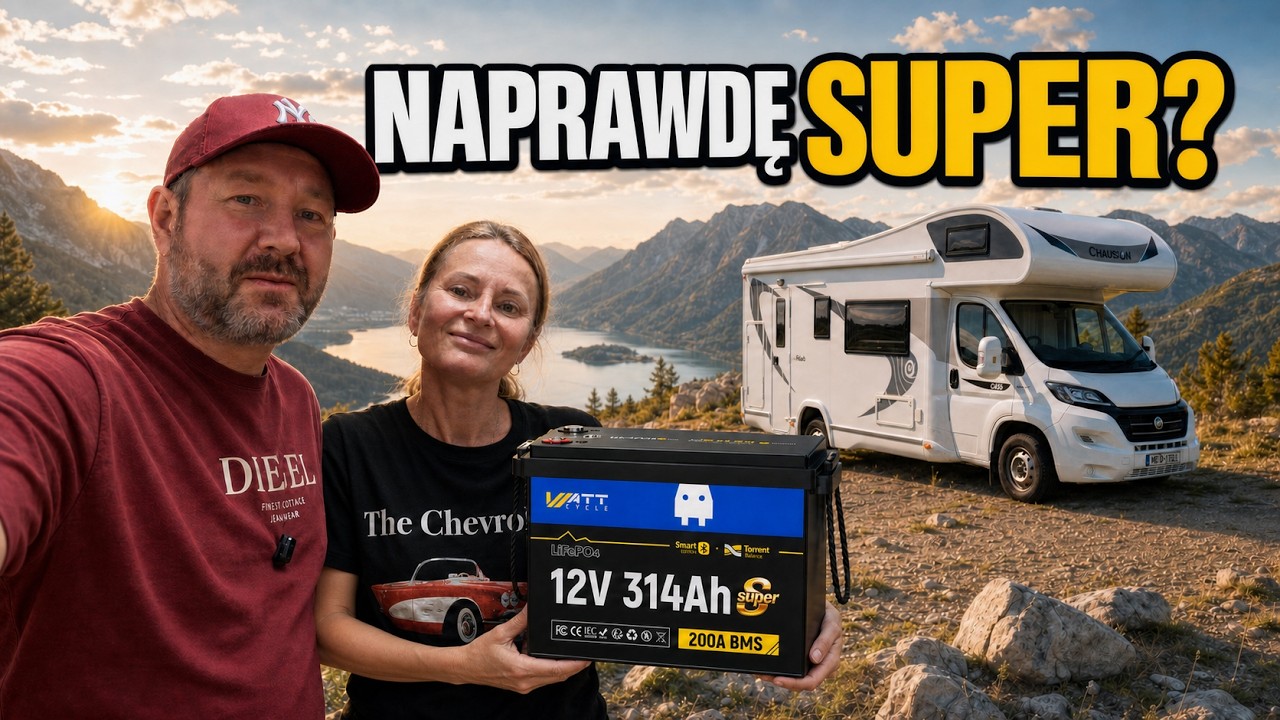
In a camper, the leisure battery powers lights, the fridge, water pump and electronics, sometimes also a 230 V inverter. Choosing it only by cost per amp-hour misses the bigger picture. Start by calculating your needs and checking that the rest of the installation can safely work with the new energy source.
1. Start with an energy budget
List your appliances, their power and approximate daily runtime. For 12 V equipment, current multiplied by time gives amp-hours; multiply by voltage to obtain watt-hours. Include inverter losses for 230 V appliances. Add the energy requirements together before choosing battery capacity.
Avoid planning to use the entire nominal capacity every day. A reserve helps during poor weather, stationary days without driving or unusually high consumption. Predictable performance matters more than a record capacity figure.
2. The BMS is essential
The Battery Management System monitors cell voltages, temperature and current limits. Its settings determine whether the battery disconnects under a heavy load and whether charging stops in unsafe conditions.
- Check the rated continuous current, not just a short peak rating.
- Find out whether the BMS blocks charging below freezing.
- Ask whether the app shows individual cell-group voltages and alarm history.
- If the manufacturer mentions balancing, check its actual current and activation conditions.
3. Current matters
A 300 Ah battery is not automatically suitable for a very powerful inverter. A 2000 W inverter can draw well over 160 A from a 12 V battery, with higher momentary peaks. The BMS, cables, fuses, isolator and connections must all support the intended load.
Even an excellent battery cannot fix undersized cables or poorly crimped terminals.
An oversized fuse may fail to protect the wiring, while an undersized one can interrupt normal operation. Cable and protection sizing must account for cable length, allowable voltage drop and installation method.
4. Charging must suit LiFePO4
Switching from lead-acid to lithium may require more than replacing a box. Check the charging profiles of the solar controller, mains charger and alternator DC-DC charger. Older equipment may use charging stages or voltages unsuitable for LiFePO4.
Smart alternators in modern vehicles add another complication. A DC-DC charger controls charging parameters and limits current to protect the alternator and wiring. Understand what happens if the BMS suddenly disconnects while charging.
5. Temperature and installation location
LiFePO4 cells can often discharge in freezing conditions, but charging below 0°C requires suitable protection. A battery inside a heated camper operates in different conditions from one in an external locker. Heated models may help, but heating also consumes energy and requires appropriate control.
Check dimensions, weight, terminal access and how the case will be secured. Even a mini battery may not fit if the cables need sharp bends or there is no room for a fuse once the locker closes.
6. Documentation, warranty and honest specifications
Look for a full manual, data sheet and clear warranty terms. Useful details include cell type, recommended voltages, temperature limits and recovery procedures after protection activates. A Bluetooth app alone does not prove construction quality.
We clearly identify products supplied for testing and affiliate links. A collaboration must not give a manufacturer control over our conclusions. Read our collaboration policy.
Our short buying checklist
- Calculate actual daily energy consumption.
- Identify the largest simultaneous load.
- Check the BMS, temperature protection and continuous current.
- Verify all charging sources.
- Select appropriate cables, fuses and an isolator.
- Measure the installation space and plan the mounting.
- Read the documentation and warranty terms.
See the practical test
In the video we show the battery internals, app, protections, load test and installation in our camper. This is an example of one model, not a universal verdict for every installation.